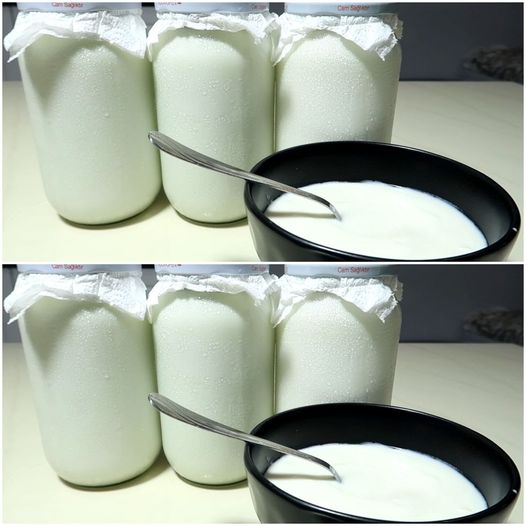
There’s something truly magical about homemade yogurt – the creamy texture, the tangy flavor, and the satisfaction of knowing you’ve created something delicious and nutritious with your own hands. If you’ve ever wondered how to make yogurt at home, you’re in luck! Our Turkish neighbors have graciously shared their time-honored recipe, passed down through generations, so that you too can experience the joy of homemade yogurt. Join us as we embark on this culinary adventure and learn the art of yogurt-making from the comfort of your own kitchen.

The Beauty of Homemade Yogurt
Homemade yogurt is not only a delicious addition to any meal but also a nutritious powerhouse packed with beneficial probiotics, vitamins, and minerals. Unlike store-bought yogurt, which often contains additives and preservatives, homemade yogurt allows you to control the ingredients and customize the flavor to suit your taste preferences. Plus, making yogurt at home is surprisingly easy and requires just a few simple ingredients.
Mastering the Yogurt-Making Process
- Choose Your Milk: Start by selecting high-quality milk for your yogurt. Whole milk will yield a richer and creamier yogurt, while low-fat or skim milk will result in a lighter texture. Pour the milk into a saucepan and heat it gently until it reaches around 180°F (82°C), then allow it to cool to around 110°F (43°C).
- Add Your Starter: Once the milk has cooled to the desired temperature, add a few tablespoons of plain yogurt containing live active cultures. This will serve as the starter for your homemade yogurt. Stir the yogurt into the milk until it is fully incorporated.
- Incubate and Ferment: Pour the milk mixture into clean, sterilized jars or containers and cover them securely. Place the jars in a warm, draft-free spot to incubate for 6-8 hours, or until the yogurt has thickened to your desired consistency. You can use a yogurt maker, an oven with the light on, or simply wrap the jars in towels to maintain a consistent temperature.
- Chill and Enjoy: Once the yogurt has finished fermenting, transfer the jars to the refrigerator to chill for several hours or overnight. This will stop the fermentation process and allow the yogurt to set further. Once chilled, your homemade yogurt is ready to enjoy!
Embracing the Yogurt-Making Tradition
With just a few simple steps, you can unlock the secret of homemade yogurt and join the ranks of generations of home cooks who have mastered this time-honored tradition. Whether enjoyed on its own, mixed with fresh fruit, or used as a creamy topping for savory dishes, homemade yogurt is sure to delight your taste buds and nourish your body. So, roll up your sleeves, gather your ingredients, and let’s get started on this delicious journey to homemade yogurt perfection!

